Wednesday, 13 August 2014

'Casual Sweet Clothes, Favourite Pieces for Every Day'

                                             
I love it when an exciting new review copy lands on my doormat and I am particularly fond of the Japanese pattern books being published by Laurence King Publishing. Their latest offering, published this month, is by fashion graduate, Noriko Sasahara, whose clothes designs pop up in advertising, music videos and live performance. The book in her words, caters for ''anyone from novice designers to those more comfortable with a needle'. So, you can try your sewing hand at a simple jersey top with cape sleeves, or a gorgeous flounced edge jacket!

All of the 18 full size patterns in the back incorporate classic, simple shapes, perfect for everyday wear, but with an added embellishment detail to give it that extra touch of elegance. So that a basic V neck shift is perked up with some ruffle cuffs, a classic pencil skirt is cut into pretty tiers and a straight box dress has added lace inserts in the sleeves.
The book's first section details each of the patterns in turn, with cleanly styled photography and tall, (wafer thin), beautiful Japanese models. That's not to say that anyone over a size 8 should overlook this book however! In fact, in truth I think that some of the pieces would show their shape a little better in a more full-some body shape.  

The next section is titled 'How To Make The Garments' and as with all Laurence King pattern books, it gives excellent illustrations and instructions, as well as prefacing this section with a glossary and 'How To' on things like straightening the grain, interfacing and choosing your pattern size - which includes a helpful table of measurements for XS, S, M & L. 
If you are used to using a seam allowance of 5/8 inch, as I am, then note that for these patterns, unless stipulated, it is 3/8 inch (1cm)

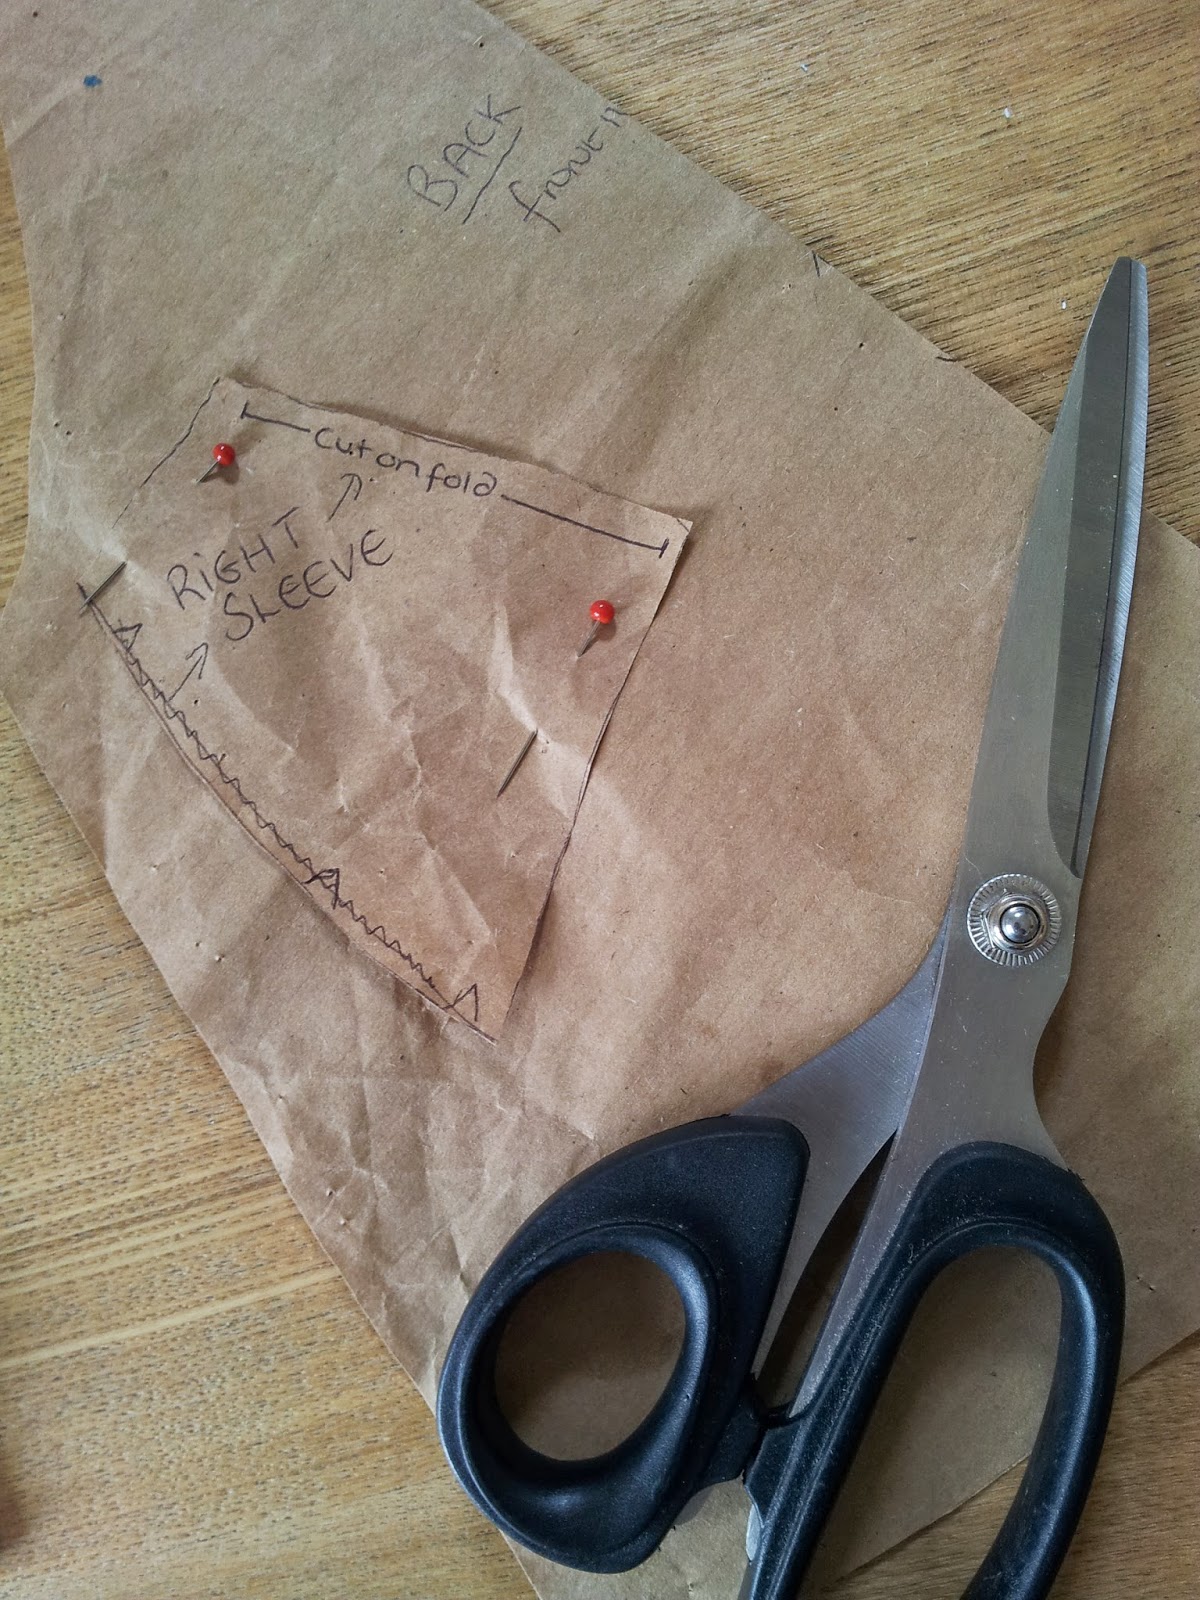
All of the patterns are full size, but you are faced with the initially daunting task of finding your chosen pattern pieces on a page of overlapping shapes and lines for several different patterns, printed on the same sheet. I found it helpful to then delineate my pattern pieces using a pink highlighter. You then need to trace your pattern.
I decided to try out the 'Bateau-Neck blouse' below ~ the cute ties at the shoulders caught my eye ;o) :
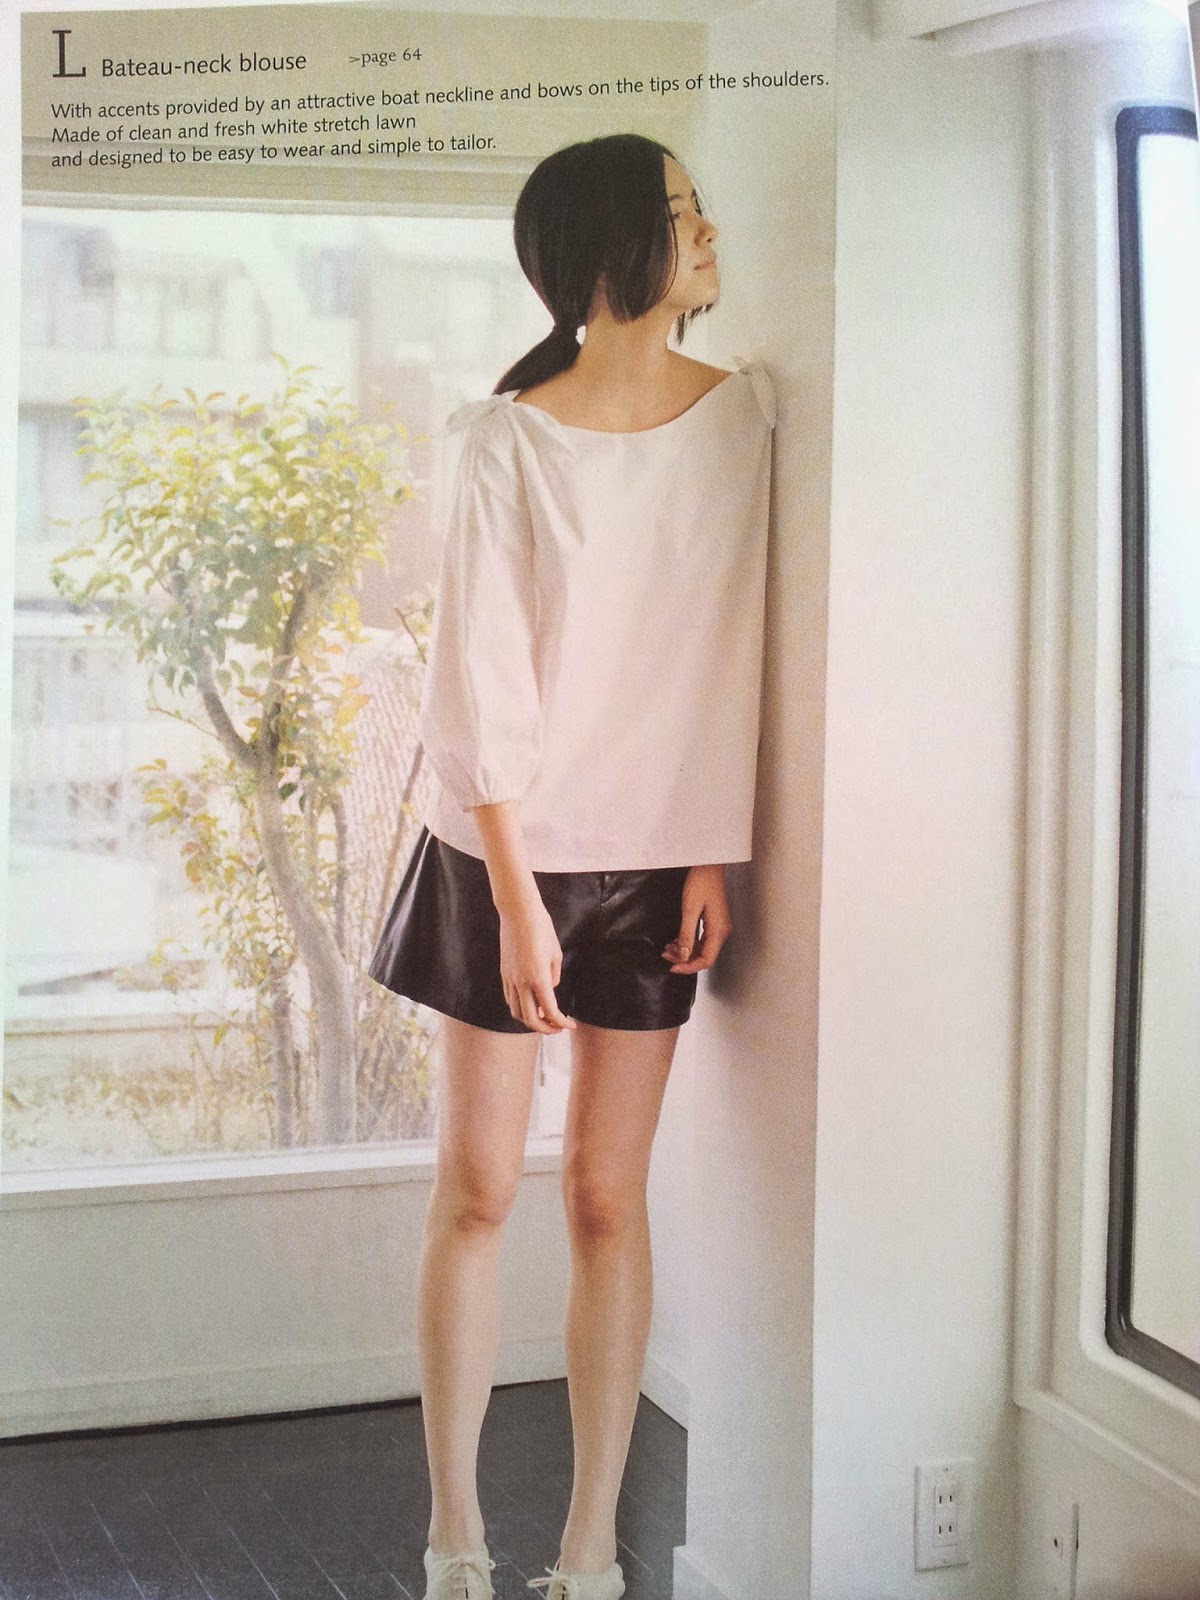
It is essentially an easy to follow pattern, for a simple front and back top with ties at the shoulders and puff sleeves with elastic. It directs you to cut two front and two back pieces so that you effectively have a lining. I decided to use some of the fabric I purchased on my last Vietnam trip, which I have been unreasonably coveting in a box! It was time for it to be used ! I used a petrol blue for the right side and then a light pistachio green for the inside. With a loose boatneck like this, I liked the way that you get a flash of the green showing on the inside. Also, with the ties at the shoulders you are enjoying both colours of fabric.
The top came together pretty easily and I am really delighted with the finished top. I took the decision not to include the sleeves in the end, feeling that my choice of fabric meant that the top was working pretty well without adding sleeves. If you were to make the top in a light, white cotton or voile as they have done in the picture, then the sleeves work brilliantly...my next project! I have also added a sneaky extra panel in my contrast fabric to make it more of a tunic ! I think I will be wearing this top a lot. The book also includes a rather lovely flounced edged jacket (below), which is also on my sewing wish list!

So, my finished result.....!


Pin It

Sunday, 29 June 2014

The 'Eloise Dress'.

This week I enjoyed some fabric browsing in the lovely Sewing Shop, Canterbury. Pram safely installed in the shop and Eloise happily cooing with the lovely Aideen, it was a chance to peruse the gorgeous children's prints. Needless to say it wasn't long before I fell upon something gorgeous. Created by Dashwood Studio, a London based textile design company and from their Wildwood series, it incorporates cute hare, fox and owl motifs amongst fairytale trees and flowers.
My first attempt at a dress for Eloise was again a pattern-free adventure ! Seems to be becoming a bit of a habit. I was using a top that she owns already (from a well known baby and child chain!) as my source of inspiration.
It was a rather organic process, (as with my recent tunic top - see previous post) and I was feeling my way a bit - well most of the way ! The end result is actually pretty far removed from its first creative musings, as I veered further off piste following instinct, inspiration and idea towards an unknown end ! Eloise kindly obliged with fittings. There are things I will change next time and a couple of design issues to address, but as a first attempt I am pretty pleased ;o)

Modelled by Eloise Rose.


Pin It

Sunday, 22 June 2014

Sewing Off Piste !

Quite some time ago now - whilst carrying a rather large baby load up front, I fell upon some dreamy fabric...well two fabrics actually, that when teamed together I felt made a dreamy pairing. Said fabric purchased, they then sat, visible, but unused in the corner of our Sun Room awaiting a purpose.
After the arrival of little Eloise and her partaking of a little nap one quiet afternoon, I decided to forego the advice of ''nap while baby naps'' (you know who you are ;o) and instead whipped off the tunic top I was wearing, laid it on top of said fabric and cut round it. Not something I've done before...and it felt a bit of a cheat at the time, but hey, new baby...post pregnancy prerogative...I have excuses ;o)
This weekend, I finally managed to finish my somewhat organic and 'off piste', pattern free, homage to my White Stuff tunic and now have my own wearable version.....and I love it ! I tweaked and altered to make it ''my own'', with a bit of creative zig zag stitching to hold some extra pleats in place and some shirring at the back for a bit of extra shaping.
As spontaneous fabric purchases and sewing sessions timed to baby naps go...this is a happy result ! Me, posing with the delphiniums ....
And the obliging baby Eloise Rose that facilitated such a self indulgent sewing exploit...

Pin It

Wednesday, 14 May 2014

Baby News !

After a little hiatus on the sewing blog front, I return with happy news of the safe arrival of our little girl, Eloise Rose. Currently sucking and cooing in her bouncer next to me, (I think I've got about ten minutes before the next food alarm ;o) She's a honey and is managing to fill my days (and nights) quite adequately, so it may be a little while yet before the sewing machine gets my attention again. When it does however, I plan to turn my hand to some cute apparel for the little poppet.
Amongst recent sleep deprived musings, I was considering something I had read about babies recognising sounds they have been introduced to in the womb, usually cited is the accompanying music to tv programmes regularly watched by the mother, that the baby, in utero and when born, can then come to associate with Mummy's 'relax time'. Whilst it isn't really a new found theory, I am yet to test it out when I set the whirring thrum of the sewing machine going and see if it has any noticeable soothing affects!
Amongst the many lovely and cherished things for us about having a new baby, has been the amazing number of well wishes, love and gifts and amongst those some very thoughtful hand sewn and knitted
items.

Our precious midwife (and now dear friend), knitted Eloise an adorable cardigan and matching hat, as well as a beautiful pink blanket, shown above. The pom pom cushion was made by me, as a first present from Mama ~ and the last thing I made on my machine before going into hospital have her. 
She is also soothed by the jingly bells in her new patchwork ball, painstakingly (and extraordinarily neatly!) hand sewn by another lovely friend. All things to be cherished...and inspired by ! I must get some knitting underway! But for now, I am summoned. :-)

Pin It

Monday, 31 March 2014

Making Your Own Fabric Covered Buttons.

I haven't really gone down the 'sewing tutorials' route on this blog - preferring to refer to other blogs when needed, but hey, I am now officially on maternity leave and conquering the weirdly odd sentiment of not having to work with a  bit of crafty button covering !

If you have not recognised the fabric already, these buttons are for the vast pockets of the Marci Tilton dress. It made sense - rather than going on a 'button search' (fun as those are !), to use some leftover fabric and make matching buttons for the pockets that blend in, whilst serving their purpose. These are so easy to do and with great results.

First off you need to purchase a set of plain, ''self cover' plastic buttons in the size of your choosing, (I went for 29mm/1 1/8 inches) You don't require any tools with these self cover buttons. They have a separate back that is pushed on once your fabric is in place and keeps the button securely covered.

Next you need to cut out rough circles in your chosen fabric, a little larger than the button you are covering This is to allow for the fabric wrapping round the whole of the button and to be secured underneath the plastic plate on the back. 
If you are working with patterned fabric, you may wish to pick out a matching detail for each of the buttons, as above. or you can choose a different detail for each if they are in a row, like the little 'sweetie' buttons below, the choice is yours !
Next you need to run a few loose, tacking stitches around the edge of your fabric piece, leaving the tails long. A great tip here is to dampen the fabric at this stage. This helps your fabric covered button to be crease and crinkle free. As the fabric dries it tightens around the button with a smooth finish. 
With the fabric dampened, you can pull the ends of the threads to gather the fabric around the button, so that it looks like a little Wonton dumpling.
Next, with all the hands you have...! you need to hold the fabric around the button in place, keeping the tightness by holding onto the end of your threads, whilst securing the plastic plate onto the back of the button, tucking away the gathered fabric. Push it on hard until it clicks or you can tell it is secure.
And there you have it ! Self-made, fabric covered buttons to use as you choose.


Pin It

Sunday, 23 March 2014

Shirring

The excitement of my recent foray into French seams has now been matched by a new adventure, with shirring elastic! (#threadgeek) Having experimented the 'pattern's way' to achieve some gathers in the central, contrast panel of my 'nearly there' Marci Tilton number, it was decided that a trial with some shirring elastic would be worth a go. The results were much better and the cause of some machine-side jubilation. In fact I went a step further, adding a couple of extra rows of gathering to the pattern's direction, just because I could ;0)

Having wound the shirring elastic on to your bobbin by hand, (and this needs to be done adding some tension on the thread), you then sew away with a straight line of stitches in the usual way. I had a play with stitch lengths on a piece of scrap fabric first. Once you have done your first row, you then need to hold the fabric out straight again for the next row and thereafter. The effect is pretty and very gratifying for such an easy sew. Also, far less fiddly than the pattern's direction of securing a piece of heavier top stitch thread at each end, then sewing a zig zag stitch over the top, (taking care not to catch the top stitch thread as you go) and then pulling the thread each end to achieve the gathers. 
Initially I thought I preferred the zig zag feature that this creates, but having worked with elastic thread and seeing the magic 'gathering' itself before your eyes, I don't think I will be looking back. It is just worth remembering that as you are working with a thicker, elastic thread, you can get to the end of your bobbin sooner than expected and yes, that happened mid-row this very afternoon! As a wise sewing instructor once said : ''you do your best sewing with an empty bobbin''! It was quickly remedied however  ;o)
Only other thought so far is that the pattern asks for a small dart at the top of this central panel, over which the gathers, or shirring is placed. Given that darts are usually inserted to give a bit of extra shaping and we have the shirring doing the work in that department here, I am not convinced it is necessary. Moreover, it also creates a 'break' in the rows of gathers. If I were to make another, I think I would forego this element.
Next stop was sewing the contrast panel into the rest of the dress - it now looks less 'dressing gown' and more like the Marci Tilton number it set out to be !


Pin It

Friday, 14 March 2014

Spring Yellows.

Spring is in the air! And with a bit more sunshine and less rain, I've been lapping up the positive vibe. The Sewing Tree is full with bud and emerging leaves and the chiff chaffs are marking a new season with their song. I've even made some progress on my slightly neglected Marci Tilton dress, this week being the week for matching up the sometimes vast fabric pieces and seeing it come together. There are elements of the 'Krypton Factor' about this pattern and it feels sometimes as though you are feeling your way a bit, following the pattern instruction whilst still waiting for it to make visual sense, (which it does eventually) ! Certainly this has been a case for using a tailor's mannequin in order to work in 3 dimensions, rather than flat on a table, in this instance our trusty classroom mannequin, AKA Dolores ;o)
                                                So, I have managed to move from this :

to this :
Currently it is falling somewhere between the kimono / nightgown vibe , (the fabric was purchased in S.E. Asia which may partly account for it !). It currently awaits a central contrast panel of yellow, which will have a shirring effect detail at the top, achieved with a heavier top stitch thread. 

Today's task was the lining and construction of the fabulously huge pockets, inviting plentiful suggestions as to what I will be able to keep in them once the baby arrives - or even the baby !?
Pocket inside out and in progress.

The pockets are a quirky feature of the dress, (and which drew me to the pattern in the first place) and it was ultimately happy circumstance that saw me without enough grey fabric left to line the pockets in the same grey floral, (its a long way back to Vietnam) and instead laying my hands on a contrast fabric in a daffodil yellow.
I love the contrast an the flash of sunny yellow, like you've got sunbeams in your pockets ;o) Ultimately the pockets can be left loose and baggy, or else the pattern also uses a pleat and a button as below. 

The other joy of this pattern has been my introduction to the French Seam - yep! Am loving the neat finishes that these give, with no raw edges on the inside, or indeed in the absence of an overlocker, any zig zag sewn edges to keep frays at bay! 
French seams can only be used if you are sewing in a straight line, but this has been the case for most of the dress so far, (apart from round the sleeves if course). It's a bit strange getting your head around sewing wrong instead of right sides together at first, but the result is a neatly finished seam that wouldn't embarrass if you happened to wear it inside out by mistake ;o) I am now a new advocate of the French seam and think I may be in to a new habit.


Pin It

LinkWithin

Related Posts Plugin for WordPress, Blogger...