Saturday, 9 May 2015

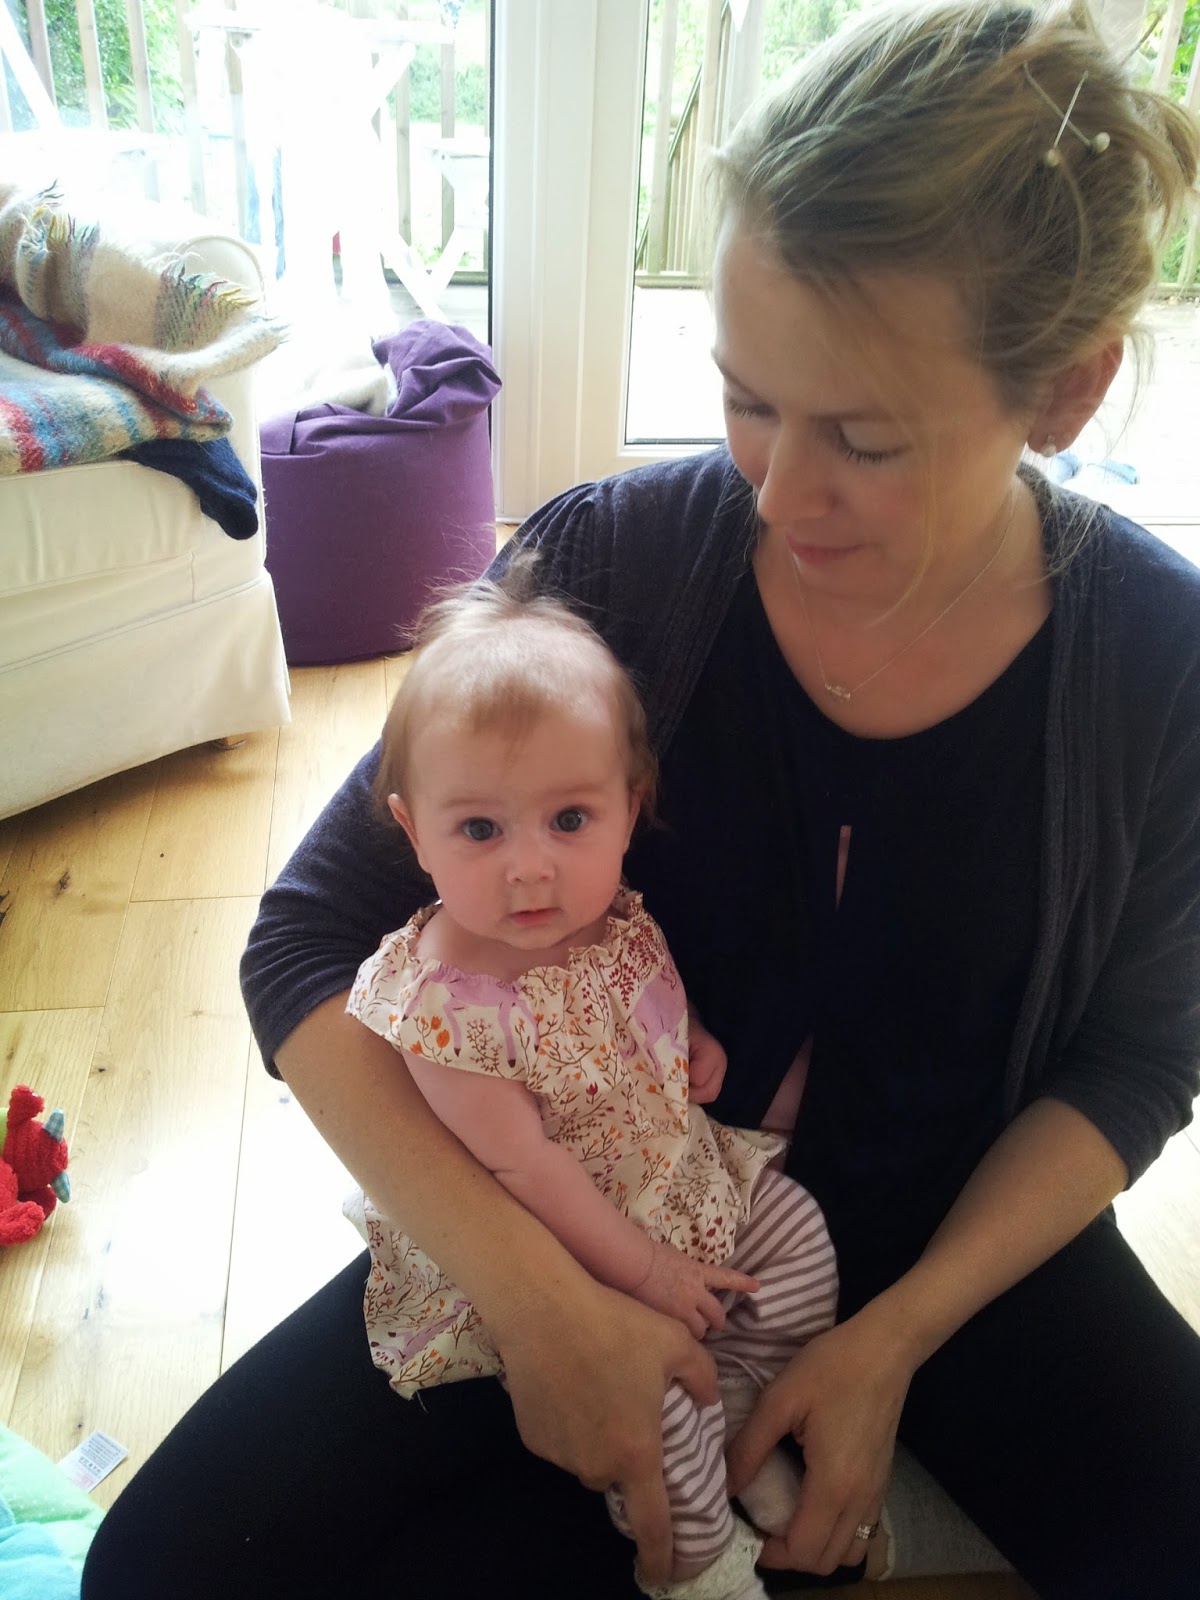
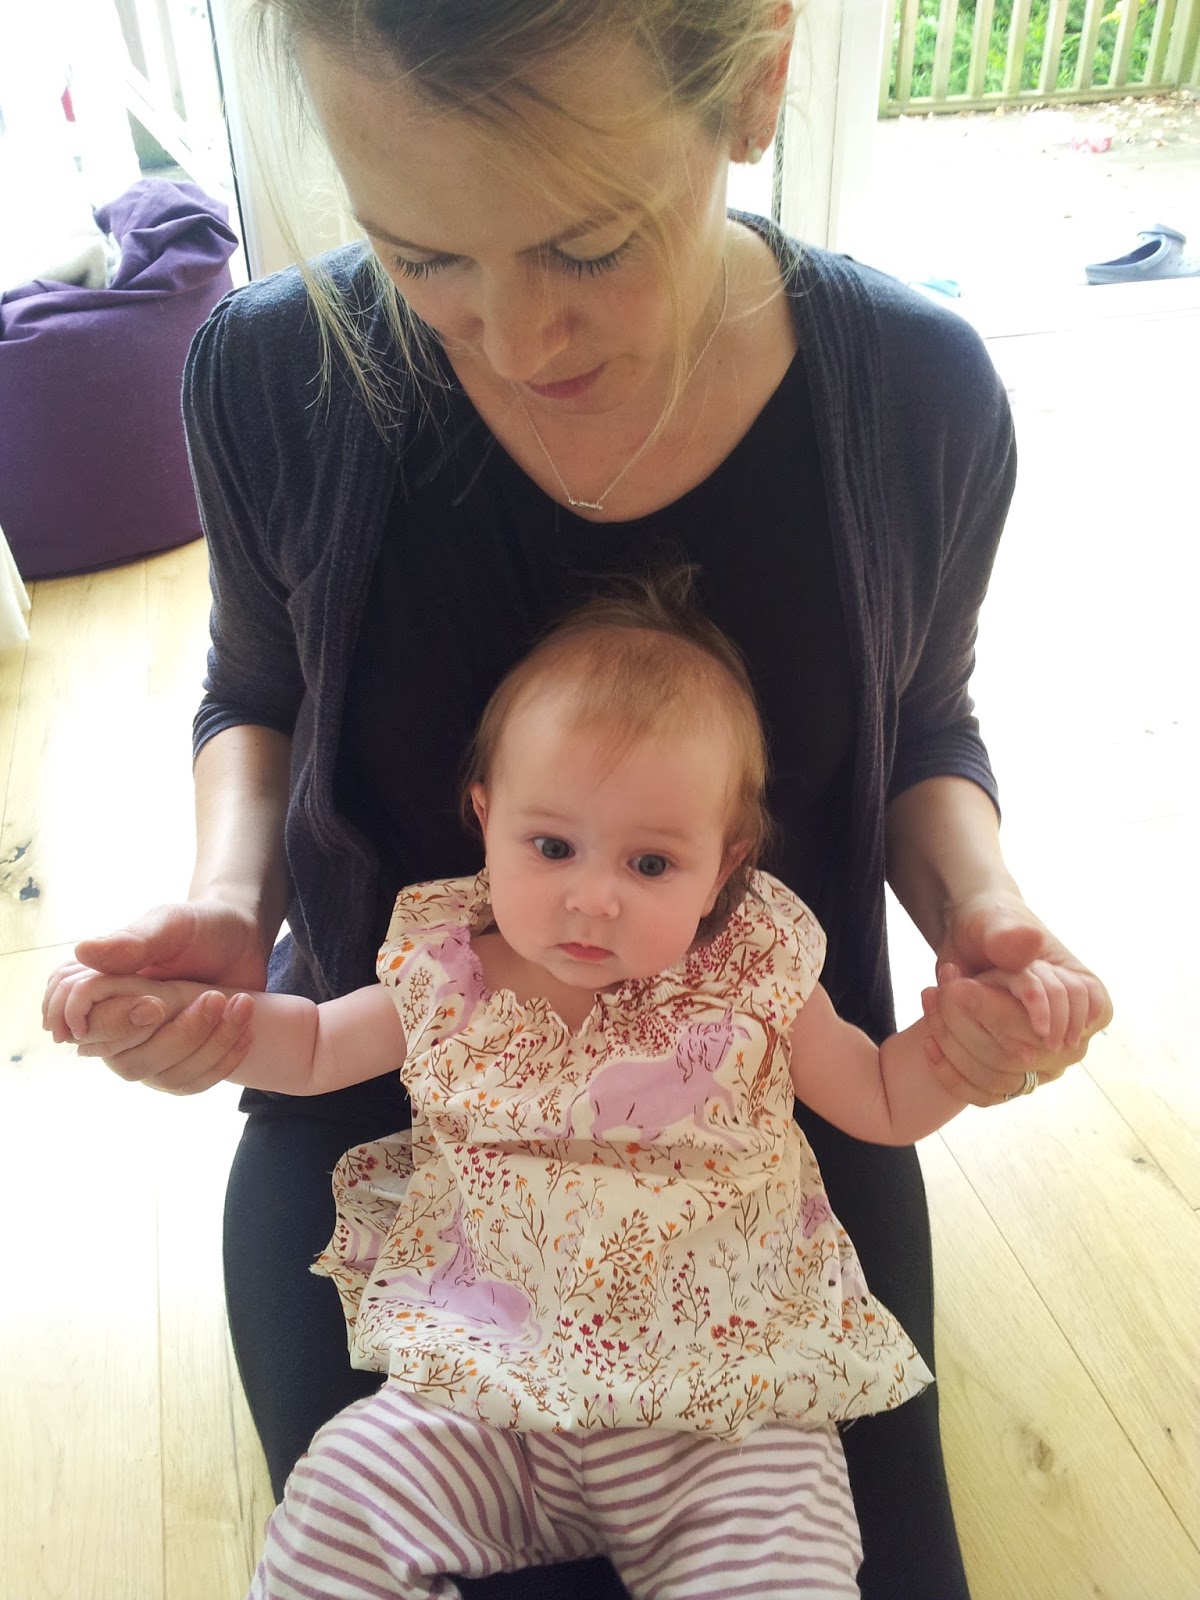
First Summer dress of 2015 !

I am always intrigued how the same pattern or garment can look so different run up in different weight/style fabrics. Continuing on from my Bird Panel Dress ~ made using Lynn Mizono's pattern for Vogue 1410, (a little reminder below), I decided I would try it again in a lighter, Summer floral. 
The result is a lighter, floatier version that still holds the shape of the pattern, but in a more informal way, beckoning sunshine, ice cream and sandy toes.
And of course with each new attempt at the same pattern comes the opportunity to make a few more additions and touches of your own. My Summer version is a little shorter ~ I'm anticipating tanned legs at least some point over the Summer! and I have added a decorative stitch to the darts and folds on the front and back :


Last but not least, the seams of this dress have been given the full treatment of a shiny new Bernina overlocker (and its excitable owner).

In the interests of fairness (and sympathy), my next project is for the little lady with the 2 new pearly whites kept her awake. 

A sneak preview of work in progress :

Pin It

Tuesday, 28 April 2015

Check out My New Toy !


Having a 'serge' of excitement! And with the appalling pun out of the way, I officially declare my new overlocking habit, (or serging, as they say in the US) Ably assisted by my shiny new Bernina! Long overdue I know, but now that I have perfected my French seams and zig zag edges, I figured it was time.
And here's what it does !
Here's to neat, unfrayable, overlocked seams ! And even better for finishing off clothes for the little lady in my life, giving them strength for that extra bit of rough and tumble endured by children's clothes.

With an hour or so's 'Know Your Overlocker' session, I feel more at ease with the whole threading process, which in itself is what has given the Overlocker a bit of a bad press in the past. However, these days clever alterations have been made to the design of most newer overlockers to ensure greater ease of threading that hideaway Underlooper. Nonetheless, a steady hand, focus and trusty pair tweezers are still required for directing the thread for each needle and upper and lower looper, on its own correct path through the machine. (Feels a little like a game of 'Operation')

I've found then, that unless of calm disposition, it is best not to watch what is going on inside the machine, as all the running threads and crossing loopers get to work in what looks like a birds nest of disasterous consequences! Yet somehow, this poetry in motion as it turns out to be, produces a magical chain of overlocking from under the needle. No going back now ;o)


Pin It

Tuesday, 24 March 2015

Pocket Dress

Finally we are seeing Spring yellows and the purples and blues of crocuses and hyacinths in the garden. Likewise, it feels it is time to set aside the Winter wools and bring out the linens and cottons !
 First stop, a new linen dress for the little girl in my life. A simple pattern with tab tops at the shoulders, a facing in the bodice and that all important front pocket for keeping essentials in ;o)
And it was a chance to make use of some very cute owl buttons I snapped up last year at a craft fair.


Pin It

Saturday, 14 March 2015

Bird Dress


I am feeling especially happy with my latest sewing creation, on two counts. First, (and not least!), I have managed to finish it! (Something I'm proud of given the lack of sleep this week, unsociable hour baby 'alarm calls', a huge work deadline and general baby busyness). Secondly, the fabric is in a gorgeous inky, peacock blue that I had been keeping an eye out for for some time and then by happy happenstance stumbled across in , The Sewing Shop, Canterbury...AND in the Sale ! Lastly, I had been saving up this birdy beauty in my sewing box for about ten years, retrieved from an old Noa Noa top that I loved 'til it could be worn no more, but now taking its new place here :o)

The design is by Lynn Mizono for Vogue V1410  :
 

I immediately fell in love with the quirky shaping, its definitively Japanese elements (unsurprisingly) and the versatility of the style. It sang to me on so many levels that I danced a merry dance inside at having found a pattern that ticked so many boxes. That said, I have still made some necessary tweaks and adjustments...(just a few), these include shortening it, adding sleeves, changing the neckline and replacing the suggested button to draw it in at the front, with my bird panel.
Another option here is to use a piece of ribbon or another panel of contrast fabric, which is what I did for my toile :
It is a pretty fabric-hungry pattern, asking for 3 metres. I didn't quite use all of that, but was left with just enough over to add some 3/4 length sleeves. The pattern pieces are voluminous! A front and a back, large as you like and reminiscent of my advanced pregnancy body..(where was this pattern when Eloise was an 'inside baby' ?!)
Making a toile for this dress was definitely time well spent, as this was where I discovered that the rather long length wasn't quite working for me. As well as shortening it at the hemline, I ultimately 'took out' some of the middle of the pattern too, so that the bulbous curve of the dress' design starts a little higher up.

I also found that the marked positioning of the tailor tacks where the dress is drawn in at the front of the bodice were not so well placed for me either. I brought these a little higher too. I also found that the neckline was slightly 'baggy', (an issue I have found echoed in reviews by others sewers making this dress). This was resolved by continuing my folds all the way up to the neckline and then adding a couple of small darts.

The back of the dress also features a couple of darts to pull it in and shape it a little. Again, I just moved these to where I was most happy with them :
Having decided to add sleeves, I hunted down a pattern in my box that had long sleeves. I then measured the sleeve pattern piece, as well as the armholes on my Mizono dress. The latter being a couple of centimetres larger, I enlarged the pattern piece my making a clean cut down the middle, carefully opening out the pattern piece at the top to the required extra centimetres and then backing it with some card to create a new sleeve pattern that would work for this dress. It worked a treat and the new sleeves eased into the dress beautifully. The nature of the fabric helped with a little bit of forgiving stretch, but actually the fit was pleasingly good. 
(See 18th June 2013 post re using a similar method to add extra room in the back of a skirt).

This has been worn and washed twice already, giving me to believe that it may now be one of my new 'reach for' wardrobe staples. Also prompting me make a couple more in different fabrics. My linen stash awaits its call up for a Summer version.


Pin It

Saturday, 7 February 2015

Sew and Go !


More than ever I am loving a sewing make that takes me from machine to wear, in quick-smart time. Feels like a while since I had the disposable hours to muse over whether I preferred pleats, gathering or shirring in the back of a dress -and with the time to try all three ! And so it was that a while ago, my dream tunic walked towards me...shop-bought and worn by a friend. It was the kind of simple, but stylish shape that you cant go wrong with....thick tights and boots, jeans and leggings - it offers itself to all manner of 'throw it on over the top' combos...my kind of wardrobe 'staple'! I traced the pattern shape from the obliging wearer and have made four so far (two as modelled above !)

On pattern paper it is a very straight forward shape, but with added ''wings'' that flare out at the bottom. These can hang either with a 'waterfall effect' as on the left below, or else, by sewing down the sides of the 'wings' on the front and back pieces, you create a more 'boxy' effect.
I have made a version in a heavier, dark green wool which hangs pretty solidly and so the waterfall effect seemed to work best to soften it.
No zips, darts or hems and you can even leave the edges raw (with non-fraying wool) for an 'organic' feel, or make a feature of a pretty selvedge edge...
The only additional requirement was a therapeutic, bias-binding making session for the neck and armholes, for which I raided my velvet and floral fabric scraps.
It has been such an easy-wearing and warm tunic, without feeling smothered in heavy winter 'woolies'. I have linen in waiting for a Summer version.
Oh, and they're good for swishing about in too ;o)

Pin It

Thursday, 4 December 2014

Toadstools Dress

The Sewing Tree may be without its cloak of leaves, but for the rest of us, the Winter togs are well and truly out ! I have been seeking out new wools and styles for Eloise's first Winter, as well as for her Granny's Christmas present. The latter purchase is a cosy, red ribbed wool that invites itself to wrap and envelop its wearer...more on that in a following post !

For the little lady of the house, I found a lilac wool mix, the right weight and texture for a small girl's dress, that can be worn over long sleeves and tights. I decided to make it in a pinafore style, with easy on/off'able access and that can be whisked on from the bottom end - rather than the ever unpopular 'over the head' route. In the absence of a pattern, I started with a dress that I know fits her comfortably as my template. Having traced the skirt and bodice and with a bit of free-hand sketching for the pinafore tabs, (I'm no artist), I had a workable pattern for making my toile.


I decided to face the bodice of the dress with a contrasting fabric and sought out a toadstool motif to work with some wooden buttons bought at a craft fair. Amazing how much time you can spend comparing the merits and colour schemes of  toadstools (!)

The decorative buttons disguise much more usable snap poppers underneath and I used a remaining piece of the toadstools fabric to embellish a simple patch pocket, just big enough for small girls things ;)

It is yet to be properly trialled, but rest assured it will be given rigorous product testing by the owner! I am hoping it will be the kind of wearable, home-made pattern that I can make over and again, accommodating the growing wearer and a quick enough 'make' that she has not grown out of it before it leaves the sewing machine !
Pin It

Wednesday, 3 September 2014

Unicorn Dress!

Quite often it occurs that I indulge in a spontaneous fabric purchase before I know what purpose or shape that fabric will take. Whilst pregnant - and once I knew I was expecting a girl, I indulged this weakness to the max, coveting soft brushed cottons, retro patterns that reminded me of my own childhood and exploring the inspiring array of modern fabric designs for little ones. One of these was a gorgeous unicorn design, not a motif I have seen often and in a soft lilac colour that instantly won me over. 
This week, like the Elves and Shoemaker (& after baby's bath and bedtime), the unicorns and I teamed up to transform their raw edges into a tunic top for Eloise. Inspired by another top she has, I decided to use shirring at the neck and arms, partly because I like the pretty, girly frill it gives the line of the neck, but moreover for easy access ! Let me explain... the passing of clothes over this little one's head for dressing/undressing is a task necessarily undertaken with stealth distraction tactics. The accommodating stretch of the shirring makes this job a whole lot easier and the top is on before she has finished her conversation with Rabbit and realises that she has been robed !

First fittings revealed that in my enthusiasm for this additional tactic, I had made the neck a little too big and accessible, creating a kind of 'off the shoulder' number ! She still wore it well, but Mummy saw improvements to be made !
   I toyed with the idea of putting in some  more shirring, but then decided on a sneaky pleat, (gotta love a sneaky pleat!) in the back to bring the neckline in a bit...the kind of sneaky pleat that looks like it was meant to be there all along, but is surreptitiously preforming a problem-solving duty, whilst also sitting very pretty ;o)
So, today, issues resolved, the unicorn dress had its inaugural outing at tea with friends. It stood up well to being wriggled in and to the inevitable milky dribble (and more substantial milky substances) and I think she looks cute as a button and pleased with the result ;o)


Pin It

LinkWithin

Related Posts Plugin for WordPress, Blogger...